It’s 2020, and the workplace has forever changed. Companies of all sizes are encouraging employees to work from home (WFH) while others are trying to figure out how to best utilize the physical spaces they’ve obligated themselves to. Many are opting for a day or two in the physical office and the rest from home. Some are using these spaces for meetings and nothing more. The trend today though, is a full force move to working from home.
If you’re an entrepreneur or a freelancer, working from home won’t be new. What’s changed is the perspective, the obligation. Before 2020, we were more able to move our workspace to a coffee shop or a local coworking space for a change of scenery, or to feel more connected to our community. Doing so today brings with it a whole host of new risks, but our desire to be connected and to have that change of scenery remains.
Working from home has its challenges and benefits, and tomes have been written on the subject. This post will address something that isn’t covered in the main stream news cycles, or by many people at all. Yet. This post is about moving what we think of as our work space into a virtual space. The term “virtual” as related to work has been used to describe a physical workspace that’s disconnected from the company’s owned or leased space. We’ll fix that today.
When you see images or video of “virtual reality,” it’s important to remember that what you’re seeing is a two dimensional view of a 3D space. When you’re in VR, what you see surrounds you, it engulfs you. You are moved from one physical location in to a space that feels real. This is simple to explain, but until you put on a headset, the words simply don’t do the description justice.
Working in VR.
The concept of the “virtual reality headset” has evolved quite a bit recently. It’s been liberated, really, and has reached a price point that consumers find pleasing ($299). It’s less than half of what millions pay for their phones, yet the headset provides so much more. It’s an opportunity to immerse yourself into another experience all together, no imagination required.
Virtual reality is no longer synonymous with games and gaming. Of course that all exists, but for myself and many others, it’s a secondary or even tertiary use case. I use my headset primarily for work, then entertainment (movies, YouTube, etc.). Gaming happens every now and then.
A PC (Mac, or PC) is no longer required to enjoy virtual reality. Today’s headsets have all of the processing power built directly in. They’re wireless, and apps install directly into the headset. For our post today though, you’ll want to have a computer available. Its screen is what will be visible inside of the VR headset.
Here are the basics required for working in VR
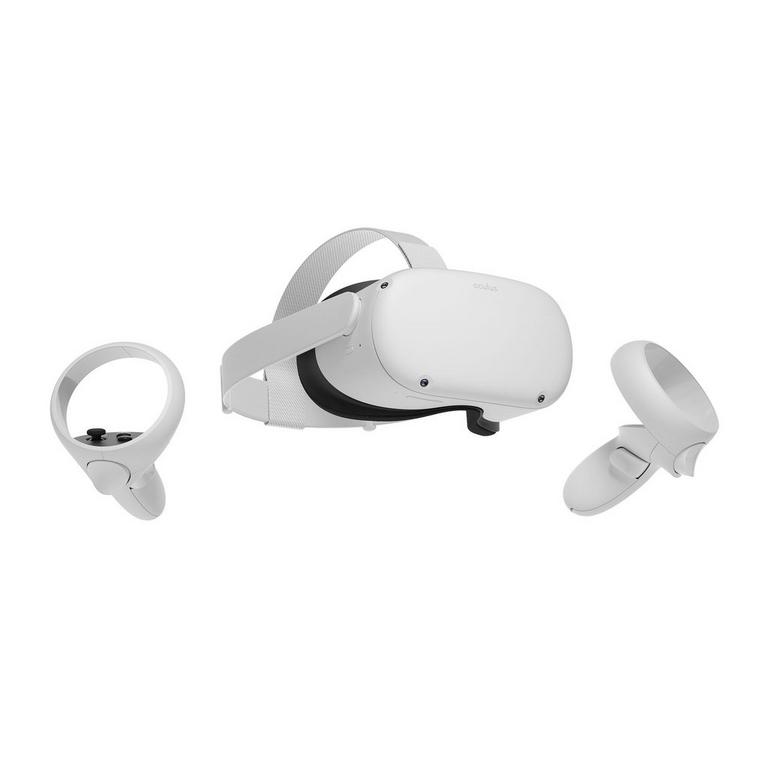
- A Virtual Reality headset. I recommend the Oculus Quest 2 exclusively.
- A PC (Mac, Windows, or Linux)
- ImmersedVR – the software that connects them together.
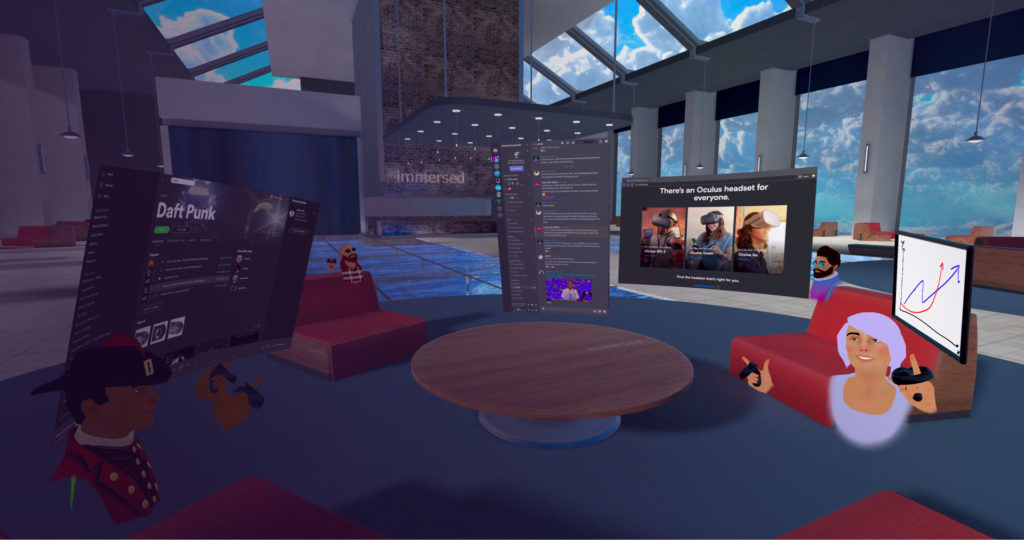
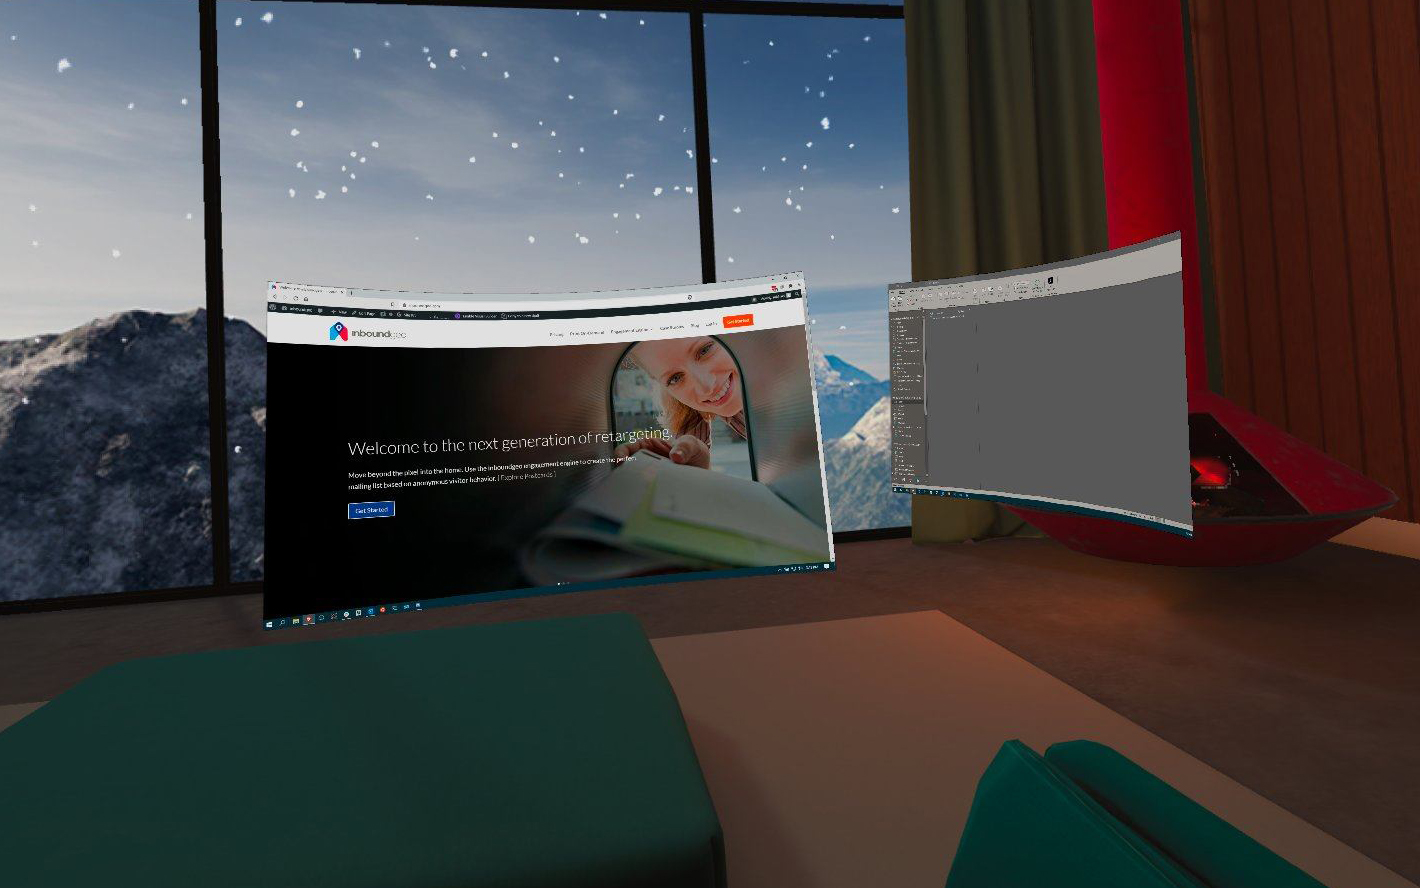
ImmersedVR has two components. First is the app that gets installed on the headset. That app then connects to an agent that is installed on the computer. The result, like magic, is that your computer’s display appears as a window inside the VR headset. If you have two physical displays, then you’ll have two displays in VR. If you don’t, ImmersedVR gives you the ability to create up to 5 “virtual” displays.
Getting started is incredibly simple: buy the headset, then install ImmersedVR on the headset and on your computer. It’s really that simple.
Frequently asked questions.
Why do I recommend the Oculus Quest 2?
It’s small, it’s light, its high resolution screen is perfect for displaying computer screens in VR, the battery lasts for what I think is a perfect VR work session (2.5 hours), it’s wireless, and it’s inexpensive. For the first time the cost of the headset isn’t the road block, perception and experience are.
Previous to Quest 2, a VR setup would have a giant wire connecting the headset (with no brains of its own) to a massive gaming PC. That whole setup would cost thousands of dollars. The Quest 2 is $299, all in, and ImmersedVR is $0 (free).
Why do I recommend ImmersedVR over other screen solutions?
While there are other options for displaying your computer’s screen in a headset, ImmersedVR is the only one built from the ground up to work on all platforms, and to make the experience a social one. You can connect to public rooms and have the ambiance of a coffee shop, co working with perfect strangers. Don’t worry, they can’t see your screens. The experience is mind blowing. When someone speaks, you tend to look in their direction to their avatar.
ImmersedVR is also focused exclusively on working in VR, from individuals to enterprise. With a paid plan, you can create private rooms that can hold up to 8 people. This means a small remote team can get together, share screens, pair program, work on a presentation or whatever.
The other most common software does show your displays, but it’s primary use is to enable desktop quality gaming on the wireless headset.
How do you type in VR?
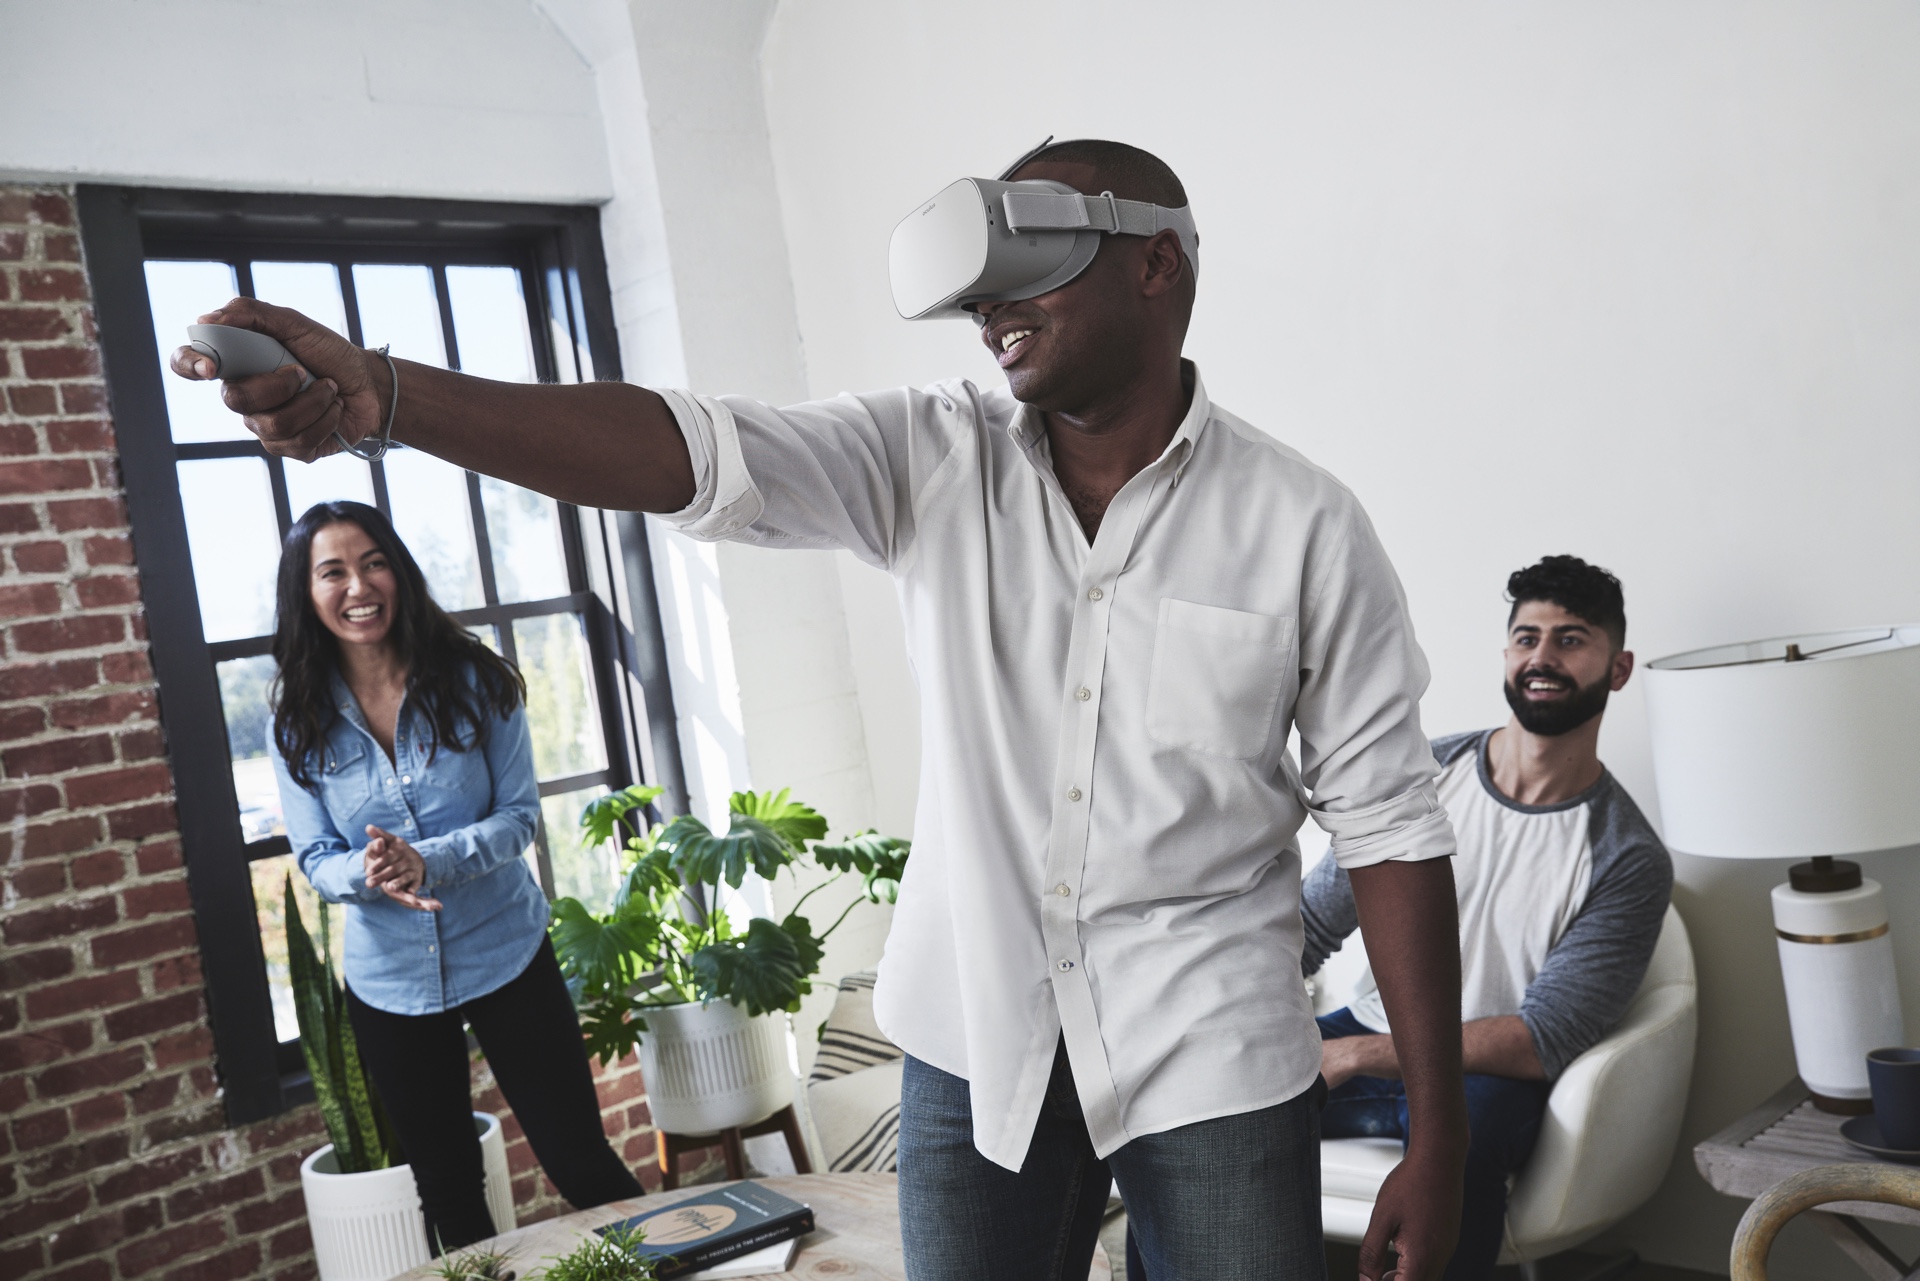
The first question most people have at this point is “How do you type in VR?” It’s a great question because the thought of using controllers to type long form prose or code on a virtual keyboard is the thing of nightmares. The answer is simple though. You use the exact same mouse and keyboard that you would normally. If you’re already a touch-typist, then this will seem natural. If not, well, there’s hope. There are dozens of touch typing tutorials available on the web – just use them while connected to your headset! The rest is cake.
Think of it this way… the headset simply takes the idea of a physical display and moves it into the headset. Everything else is exactly the same.
How much physical space is required?
The Oculus Quest 2 has a guardian concept to help keep you safe (thus the name). You can draw, using your controllers, a space as large as 25′ x 25′ if you have room for it. For computer/laptop work though, I use a setting called “stationary” where the headset draws a circle that’s about 2 meters in diameter. Working in VR takes no more space than sitting at your computer (or standing as I do). If you reach out and come close to your guardian, then the guardian becomes visible as a warning.
How do I drink my (coffee, tea, beer, etc.) with a headset on?
What if I need to see the world outside of my headset?
The Oculus Quest has a feature called “Pass through.” This feature allows the cameras on the front of the headset to pass reality in to the headset. You can access this feature with two gentle taps on the left or right side of the headset. You can then see everything (in black and white) on your desk or in the room. It’s a beautiful thing. When someone comes in, two taps and you’re having a conversation. Two more taps, and you’re back to “the office.”
How do I make or receive calls in VR?
If you’re on a Mac and use an iPhone, then make sure that they’re connected using Facetime Audio. When your iPhone rings, your Mac will alert you and use FaceTime audio to answer the call. I’m not sure how to connect an incoming call to your mobile device to Windows. For outgoing calls however, you can use Google Voice and set the caller ID to your mobile phone’s number.
In summary.
There are three required components to working in virtual reality: a headset, a computer whose display will be used, and ImmersedVR. The benefits that working in vr brings (focus, social interaction, and team work) are well worth the price of admission. Feel free to share this post with your team, and I’ll be happy to field any questions.
The time has come. I’ll see you in VR!